

-
Content
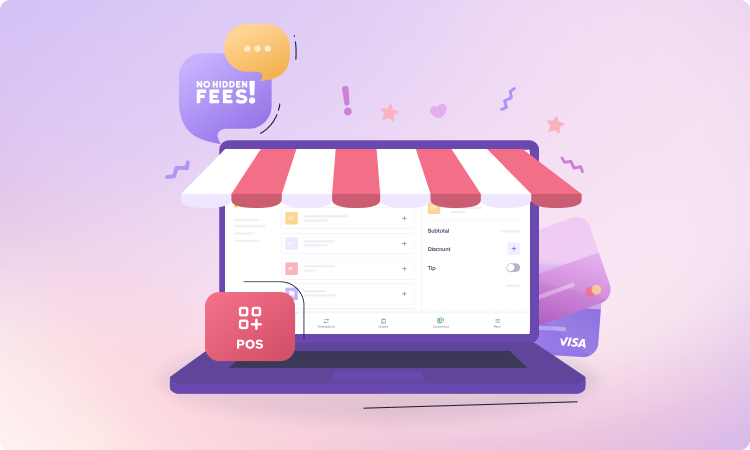
Let’s face it: traditional POS systems can be ridiculously expensive. All that hardware? Yikes. Not to mention the lock-in periods you get cornered into when you sign up with legacy providers. But guess what? Your iPad, the one currently being used to binge-watch Netflix and play Candy Crush, can moonlight as a full-blown point-of-sale system. Pretty cool, right?
With an iPad and a free point-of-sale app, you can skip the part where you empty your wallet and jump straight to being the checkout superstar.
What is an iPad POS system?
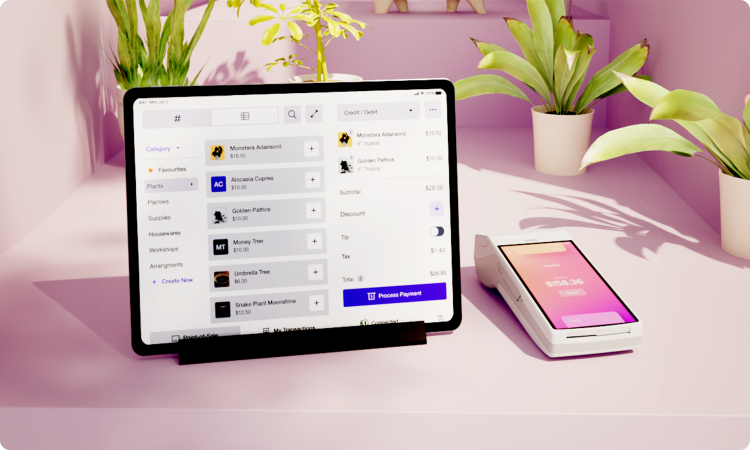
An iPad POS system is an Apple iPad with POS software installed and compatible POS hardware connected using Bluetooth. Merchants use iPad POS systems to accept payments, manage inventory, view sales reports, and run their business anywhere.
The work you do on an iPad is much like what you’d do on a laptop or traditional register: add products, configure tax settings, update business details, and manage customer information. It’s like taking the old-school register and “upgrading it to be smarter, faster, and way cooler” by putting it at your fingertips on a tablet.
What are the advantages of an iPad POS system?
The first advantage is flexibility. Instead of a fixed counter register, on-the-go businesses can turn an iPad into a portable POS system to accept payments on job sites, run pop-up stores, process payments on the go, or collect payments in line or at the table.
The second advantage is lower POS hardware costs. You can often use an iPad you already own, so there’s no need to buy a dedicated register.
The final advantage is that iPad POS is cloud-connected. Your sales data syncs online so you can access it from anywhere. Updating an iPad POS is simple: download the latest app version from the App Store, and you’re done.
What are the disadvantages of an iPad POS system?
No system is perfect. The disadvantages of an iPad POS system are:
- Battery life: Unlike fixed POS registers that are always connected to a power source, an iPad POS runs on a battery. It can drain quickly if not charged regularly. Before starting the workday, make sure your iPad POS is fully charged to avoid disruptions during business hours.
- Limited functionality: The features of an iPad POS depend on the app your POS provider offers. If a feature is too complex to be built into the app’s interface, you may not have access to it on the iPad. In those cases, you’ll need to use your laptop or a fixed POS station to make advanced changes or configurations.
- Operating system requirements: POS apps only work on recent versions of iPadOS. If your iPad is too outdated to install the latest update, you won’t be able to run the POS app. For example, the Helcim POS app requires iPadOS 16.0 or higher to function.
- Storage limitations: If you use your iPad for personal files, business documents, or communication apps, it can fill up your device’s storage. Each POS app update requires a certain amount of free space. If your iPad’s storage is full, you won’t be able to install updates, which could leave your system outdated or less secure.
- Hardware connection limits: Most POS accessories, like card readers or payment terminals, connect to an iPad via Bluetooth. If your POS hardware doesn’t support Bluetooth or only connects with cables, you’ll need a compatible adapter or converter to fit the iPad’s charging port (Lightning or USB-C).
Which iPad model is best for a POS system?
Usually, to best run the iPad POS system, your iPad needs to have the latest iOS operating system installed. If your iPad is too old to install the latest iOS version, then it can’t install the POS app.
If you decide to buy a new iPad for your iPad POS system, you should consider your specific business needs because different models offer different screen sizes, battery life, types of charging ports, and connectivity.
| Feature | iPad (11) | iPad mini (A17 Pro) | iPad Air | iPad Pro |
|---|---|---|---|---|
| Screen size | 11″ | 8.3″ | 13″ or 11″ | 13″ or 11″ |
| CAD prices | From $499 – $699 | From $679 – $879 | 11″: from $799 or $999 13″: from $1,099 or $1,299 | 11″: from $1,399 or $1,679 13″: from $1,299 or $2,079 |
| USD prices | From $349 – $499 | From $499 – $649 | 11″: from $599 or $749 13″: from $799 or $949 | 11″: from $999 or $1,199 13″: from $1,099 or $1,499 |
| Battery life | Up to 10 hours on Wi-Fi Up to 9 hours using cellular data networks | Up to 10 hours on Wi-Fi Up to 9 hours using cellular data networks | Up to 10 hours on Wi-Fi Up to 9 hours using cellular data networks | Up to 10 hours on Wi-Fi Up to 9 hours using cellular data networks |
| Charging port | USB-C | USB-C | USB-C | USB-C |
| Cellular connectivity | 5G cellular | 5G cellular | 5G cellular | 5G cellular |
| Capacity | 128 GB – 512 GB | 128 GB – 512 GB | 128 GB – 1 TB | 256 GB – 2 TB |
| Weight | 477 – 481 g 1.05 – 1.06 lb | 293 – 297 g 0.65 – 0.66 lb | 11″ model: 460 g · 1.01 lb 13″ model: 616 – 617 g · 1.36 lb | 11″ model: 444 – 446 g · 0.98 lb 13″ model: 579 – 582 g · 1.28 lb |
Costs: If cost is a concern, the iPad (11) model offers the most affordable latest option to get started without overpaying.
Battery life: Apple’s latest iPad models offer up to 10 hours of web use on Wi-Fi (about 9 hours on cellular). That’s generally enough to cover a full eight-hour work shift. If your business runs longer hours, make sure to keep a charger nearby so your iPad doesn’t shut down during operations.
Charging port type: All the latest models feature a USB-C port. USB-C is more suitable for POS because it supports hubs and adapters. You can plug in multiple peripherals (like a USB receipt printer, scanner, or card reader that uses USB) via a single hub, and even charge the iPad at the same time. If you use older iPad models that have a Lightning connector, then you may need Apple’s Lightning-to-USB adapter to connect USB POS accessories. Alternatively, you can pick Bluetooth or Wi-Fi options for wireless POS connection.
Screen size: Except for the iPad mini (A17 Pro), the latest iPad models have screen sizes between 11″ and 13″, providing plenty of space to view your inventory and process checkouts conveniently. Plus, the bigger screen helps customers easily check their order, select tips, and tap on the screen to pay. If you prefer a smaller and lighter device, the iPad mini (A17 Pro) is an excellent choice. Besides, the iPad mini also lets you carry it everywhere (to the line or to tables) to collect payments more easily. If mobility is key (for a food truck, servers, or tradesperson on the go), the iPad Mini’s portability is a big plus.
Storage: POS apps don’t require much storage, so 64GB is usually enough for most businesses. However, if you also use the iPad to store product images, documents, or messages from communication apps, opting for 128GB or higher is a safer choice.
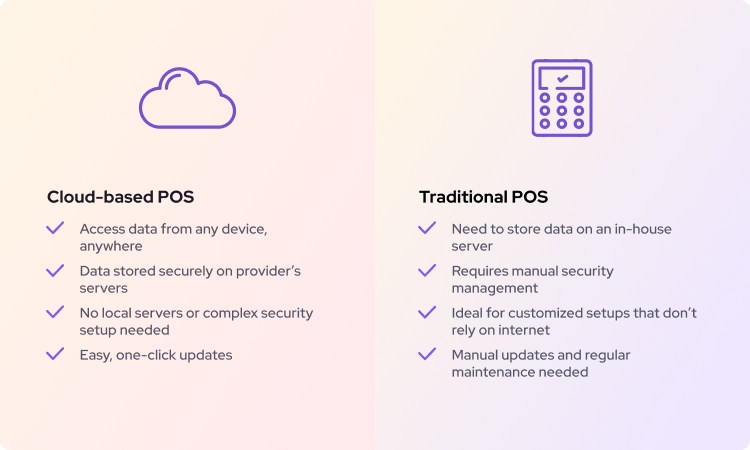
How does an iPad POS compare to an Android Tablet POS?
If you’re considering an iPad POS and haven’t had an iPad yet, it’s wise to compare it against Android-based tablets, given that Android tablets are usually cheaper than iPads.
However, the iPad is well known for its high security, so it can help protect your business from malware if you accidentally get it when using it for personal purposes.
Both iPads and Android tablets can run a POS app, but there are key differences:
- Security and customization: iPads run on Apple’s iPadOS, which is well known for its strong security and strict app controls. This helps protect your business from malware or viruses, especially if you occasionally use the device for personal purposes as well. However, Apple’s tight security and closed system also limit customization. POS providers can’t modify the operating system or hardware deeply, which means iPad POS apps are generally consistent and reliable, but not highly customizable. In contrast, Android POS systems run on a more open platform. POS providers can customize and tweak both the software and hardware more freely, which is useful for specialized industries like restaurants or retail, where the workflow might require tailored features. The trade-off is that Android systems are slightly more vulnerable to malware if not managed carefully.
- Costs: Android tablets are typically cheaper than iPads, both in upfront cost and repair or replacement. You can find reliable Android tablets for around $150–$300, while a new iPad usually starts at $400–$500. However, the iPad’s higher price often pays off in longevity. If you’re on a tight budget or need multiple tablets for different staff or checkout stations, Android might help you save on initial hardware costs.
- Reliability & updates: The iPadOS operating system is reliable, but major updates can break certain POS apps until the developer patches them. Because all app updates must be approved by Apple, it can take up to a day for fixes to go live, while Android app review only takes a few hours. Until it’s approved, you can’t run your business at all if the app is broken.
In summary, iPad POS systems shine for their strong security. In contrast, Android Tablet POS systems may offer more customization, device choices, and sometimes lower hardware cost, which can appeal to businesses with specific needs or those looking to save on hardware.
How to set up and use an iPad POS system?
Using an iPad as a POS system is straightforward:
Step 1 - Get your merchant account: A merchant account is the credential you need to log into your POS app or software. You’ll need to sign up for this account and wait for approval, which can take anywhere from a day to a few weeks. Learn how to qualify for a merchant account.

Step 2 - Download the POS App: Install a POS app on your iPad. Providers like Helcim offer free Helcim POS apps on the App Store. If you work with another POS provider that customizes software for your workflow, check if they have an iOS app. Once installed, log in using your merchant account credentials.
Step 3 - Set up your business: We recommend setting up your business details (importing products, adding customer information, configuring taxes, and setting up tip options) on your laptop or desktop. The interface is easier to navigate, and some settings may not be available in the iPad app.
Step 4 - Connect your payment hardware: If you sell in person, connect your credit card reader or payment terminal to your iPad via Bluetooth or cable. If you use the Helcim Smart Terminal, it already includes a built-in receipt printer, so you don’t need to purchase an additional one.
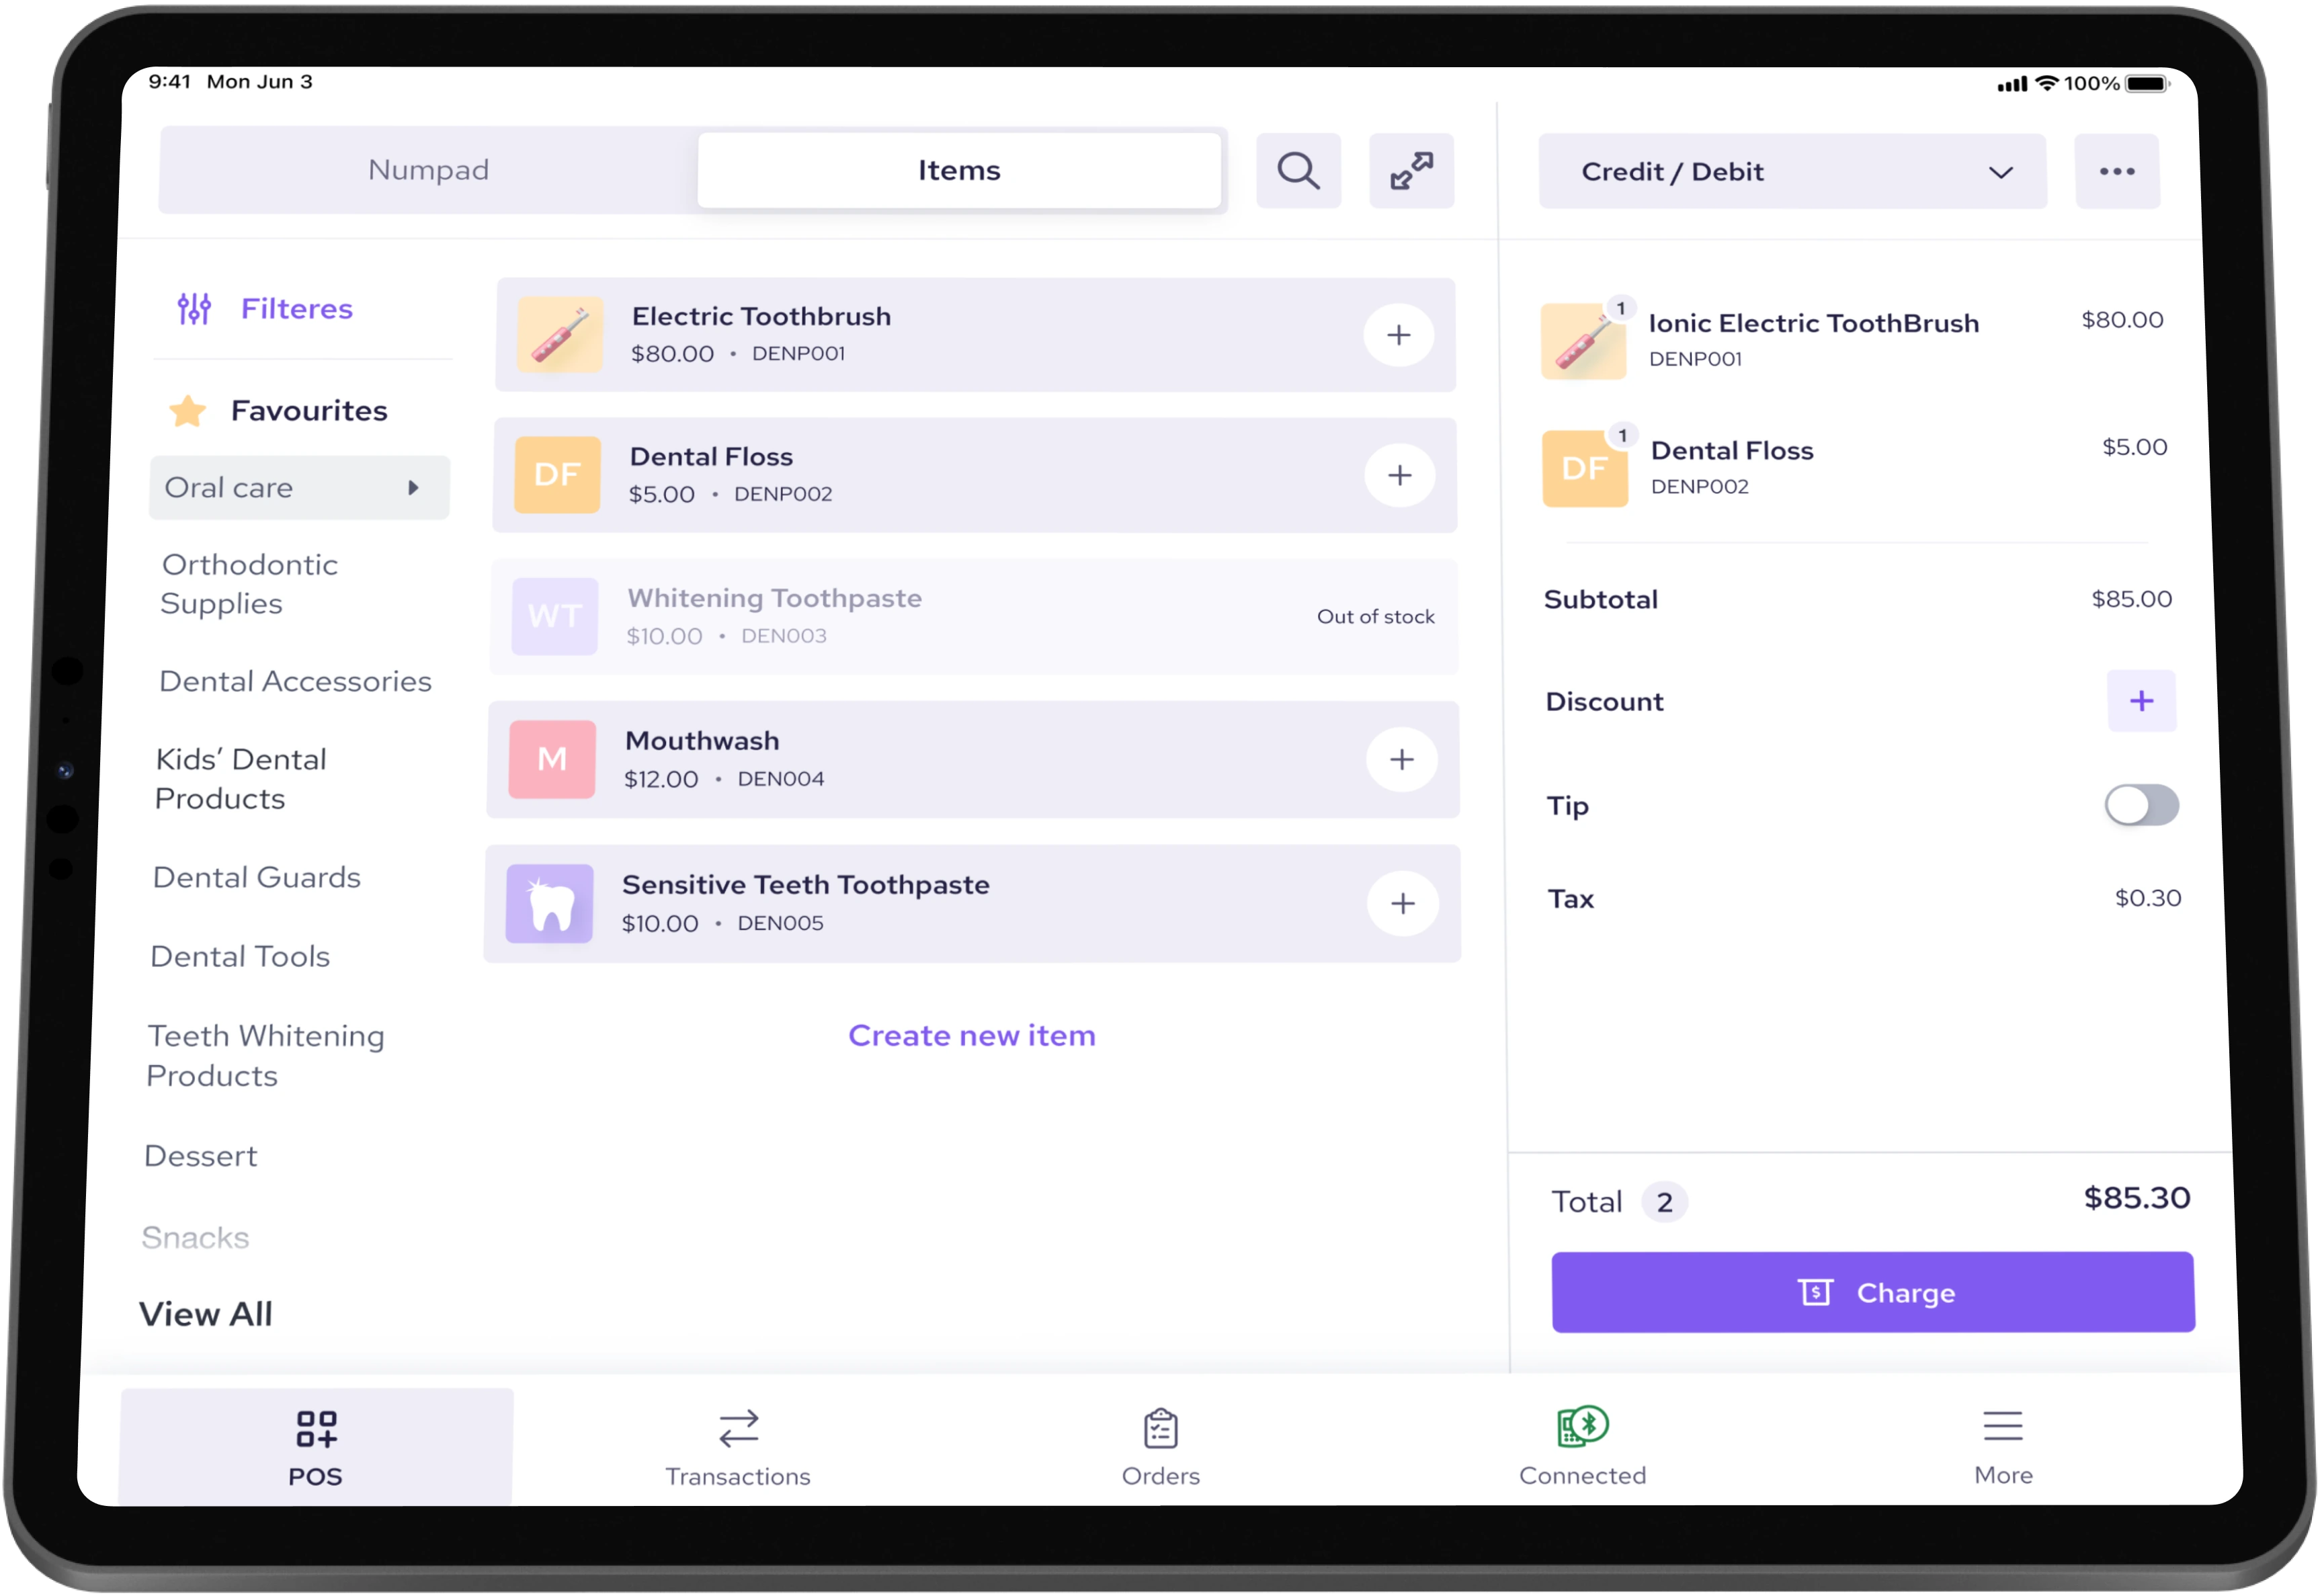
Step 5 - Collect payments: For in-person transactions, select products from the POS app or enter a custom amount using the number pad. Tap “Charge” to display the payment amount on your card reader or terminal. Customers can then choose a tip option and pay by tapping, inserting, or swiping their debit or credit card. If you’re a Helcim merchant, the Helcim POS app includes online payment tools such as Helcim Recurring Payments, Helcim Virtual Terminal, and Helcim Invoicing to help you collect online payments virtually.
Step 6 - Issue a Receipt: After payment, you can print a paper receipt or send a digital one. Customers can provide their email or phone number, and the app will automatically send the receipt.
Step 7 - Process repeating transactions: After the first sale, your customer’s payment information (tokenized for security) can be saved in the POS system. You can use this saved information to send future invoices or process recurring payments using tools like the Helcim Virtual Terminal.
After every sale, your inventory is automatically updated. If you sell both online and in person, your inventory will sync across all sales channels in real time.
An iPad POS system isn’t just for taking payments, it can also help you manage your products (variations, stock levels, prices), view order history, track sales trends, identify top-selling items, and review transactions to quickly spot declines or chargebacks.
What payment methods can an iPad POS system accept?
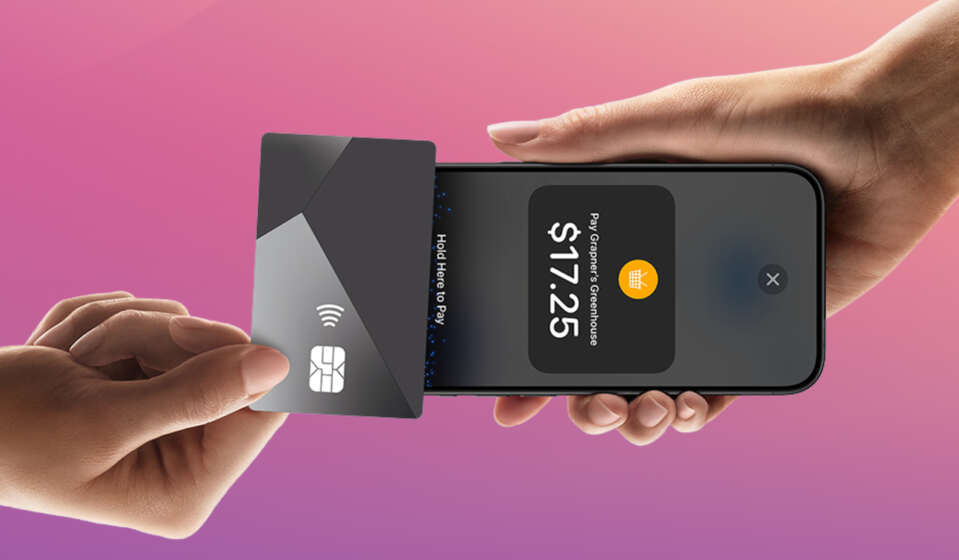
When pairing your iPad with a credit card reader or credit card machine, you can accept debit cards and credit cards in person. With a compatible card reader, your iPad POS can accept the following payment methods:
- Debit card and credit cards: Magstripe (swipe) cards, EMV chip (insert) cards, and contactless (tap) cards from payment networks like Visa, Mastercard, Discover, American Express, Discover, or Interac (Canada).
- Mobile wallet payments: This includes Apple Pay, Google Pay, and Samsung Pay. You just ask them to tap their device on your payment terminal to pay.
- Cash: Yes, you can accept cash using the iPad POS system. Obviously, the iPad can’t ingest cash, but the POS app will have a cash option to record cash transactions.
- Checks: Like cash, you can record them manually in the iPad POS by using a tender type like “Check”. This won’t verify the check, but it will log the transaction in your POS system.

What is the average monthly cost of an iPad POS system?
Monthly POS app/software fees: Many POS providers, such as Helcim, offer free POS software and mobile payment apps so merchants can set up and use an iPad POS system with no monthly subscription fees. However, other providers charge a monthly fee ranging from $30 to $500 or more, depending on the system’s functionality and the number of business locations. Some providers also base their monthly fees on your payment processing volume. The higher your transaction volume, the more expensive the subscription plan that you can get with lower payment processing rates.
| POS providers | USD monthly pricing | CAD monthly pricing |
|---|---|---|
| Helcim | $0 for POS software and all payment tools | $0 for POS software and all payment tools |
| Square | $0 – $149 | $0 – $35+ |
| Stripe | $0 for primary payment tools $25 – $65 for advanced reporting functionality | $0 for primary payment tools $35 – $90 for advanced reporting functionality |
| PayPal (Zettle) | $0 – $30 | $0 – $35+ |
| Bank of America | Not listed | Not listed |
| Clover | Full-service restaurant: $89.95 – $129.85 Quick-service restaurant: $89.95 – $109.90 Professional services: $29.95 – $84.95 Home & field services: $29.95 – $84.95 Retail: $0 – $104.90 Personal services: $0 – $84.95 | Not listed |
| Shopify | Basic – Advanced plan: $39 – $399 Plus plan: $2,300 (on a 3-year term) Extra monthly fee for Shopify POS Pro (in-person selling): $89 per location | Basic – Advanced plan: $49 – $517 Plus plan: $2,300 (on a 3-year term) Extra monthly fee for Shopify POS Pro (in-person selling): $119 per location |
| Authorize.net | $25 | $25 |
| Lightspeed | Retail: $109 – $339/location (includes 1 register; +$59 per extra register) Restaurant: $69 – $399 (+$30 per kitchen display) | Retail: $139 – $399/location (includes 1 register; +$69 per extra register) Restaurant: $239 – $499 (+$40 per kitchen display) |
Monthly POS hardware installment costs: If you rent hardware or choose an installment or financing plan for your payment terminal, card reader, or other POS equipment, you’ll also pay a monthly hardware fee. This usually equals the total hardware cost divided over 12, 24, or 36 months. For example, you can get the Helcim Smart Terminal with a 12-month installment plan of CAD $39/month or USD $32/month, instead of purchasing the hardware outright.
Monthly POS hardware rental costs: Some providers, like Moneris, don’t sell hardware but instead rent it for about $34.95–$39.95 per month. However, be cautious with hardware rentals, as they often come with three- to five-year contracts and hefty early-termination fees. If you’re unsure about committing long-term to a POS provider, it’s best to avoid hardware rentals or financing agreements that lock you in.
Monthly advanced POS feature costs: Some providers, such as Stripe, offer advanced features for an additional monthly fee, $25–$65 USD or $35–$90 CAD, for enhanced reporting and analytics. Each POS provider sets its own pricing for advanced features, so always check their pricing page before signing up.
Monthly costs for internet and 4G/LTE data plan: An iPad POS system relies on an internet connection to function properly. If your location has unstable Wi-Fi or no internet access, you can purchase a mobile data plan for your iPad or a 4G/LTE data plan for your payment terminal to prevent service interruptions. For example, Helcim offers a 4G/LTE Mobile Data Plan (SIM card) for the Helcim Smart Terminal, providing a stable internet connection for $7 USD or $9 CAD per month. Learn more about the POS connection with wifi vs a data plan.
How to integrate POS accessories with an iPad POS?
iPad POS systems promote the flexibility to sell everywhere, but depending on your business model, you may need extra POS accessories like receipt printers, barcode scanners, or cash drawers. Before buying any POS accessory, make sure to check with your POS provider's website so that you know which models are compatible with the POS system and app.
Here’s how each POS accessories integrate with your iPad POS system:
1. Connect receipt printers to the iPad POS system
USB receipt printers: With an iPad, you can’t plug a printer directly into the device because the latest iPad models use USB-C ports. To connect a USB printer, you’ll need an adapter or hub that converts the printer’s USB-A plug to a USB-C connection.
Bluetooth receipt printers: If your receipt printer supports Bluetooth, you can pair it with your iPad POS. Turn on Bluetooth on your iPad, then open your POS app’s settings to complete the pairing process. Keep in mind that Bluetooth connections weaken with distance, so make sure your printer stays within its range limit to avoid losing the signal.
Wi-Fi/Ethernet receipt printers: These printers connect to your router via Wi-Fi or Ethernet, and the iPad sends print jobs over the local network. The advantage is that you can place the printer farther away, such as in a kitchen or at another counter, as long as it’s on the same network. Besides, this type of printer supports multiple connections, so you can connect it to multiple iPad POS to print receipts. If you lose your Wi-Fi or internet connection and switch to your iPad’s data plan, you’ll need to enable the iPad’s hotspot feature and connect your printer to that hotspot to maintain a stable connection.
2. Connect receipt printers to the cash drawers
You can connect your cash drawer to the iPad POS system through the receipt printer using the provided connector cable. In your POS app’s settings, you can choose when the cash drawer opens automatically, such as right after a cash transaction. The receipt printer sends the signal that triggers the drawer to pop open.
3. Connect barcode scanners to the cash drawers
Many iPad POS apps support specific Bluetooth barcode scanners. When you scan a product barcode while the POS app is open, the system will automatically find the item in your catalog and add it to the sale. Socket Mobile is a popular brand with scanners that are compatible with most modern POS systems, and they usually include a pairing mode designed for iOS devices.
Get Helcim iPad POS system and save 25% on payment processing fees
Helcim gives you free POS software with built-in payment tools to accept payments both online and in person. You can get your business up and running with no monthly fees, no setup fees, and no hidden costs.
Besides, the Helcim Interchange-plus model helps you save 25% on credit card processing fees compared to other POS providers.
Book a demo, call us at +1 (877) 643-5246, or sign up today to see how Helcim can help you accept POS purchases at lower transaction fees.

If you’re currently locked into a contract with another provider, the Helcim Merchant Buyout Program will cover up to $500 of your processing fees to help offset cancellation costs.

Break up with bad rates.
Feeling stuck with your provider? We'll waive $500 of your processing fees when you switch to Helcim.
FAQs
Can an iPad POS system work in offline mode?
Yes, many iPad POS systems offer limited offline functionality. You can still record sales and print receipts while offline, and the system will sync data once the internet connection is restored. However, card payments generally require an internet connection for authorization. Some POS apps store transactions temporarily and process them later, but this carries a small risk if a payment is declined.
Do I need a separate iPad for each register?
Yes, each checkout station requires its own iPad if you want to process multiple transactions simultaneously. However, all iPads can be linked to the same POS account, allowing them to share inventory, reports, and settings. Some providers charge per register, while others let you add multiple devices for free. If your store gets busy, adding an extra iPad can help shorten wait times and keep sales moving efficiently.
How do I connect an iPad POS to the internet?
You can connect your iPad POS to the internet via Wi-Fi, Ethernet (using a USB-C adapter), or a cellular data plan. Wi-Fi is the most common option for fixed locations, while cellular or hotspot connections are ideal for mobile businesses. For stable performance, use a private network instead of public Wi-Fi. If your Wi-Fi goes down, enabling your iPad’s hotspot feature can keep your POS and printer online until service is restored.
Related Articles
-

POS system pricing: costs, fees and ROI calculation (US and Canada)
Robert Luong | October 30, 2025
-

POS Debit vs POS Credit: What is the difference?
Connor Tennant | February 10, 2025
-
Can I use my iPhone as a POS system?
May Montenegro | December 20, 2024
-

POS Software: Everything you need to know.
Kaitie Weaver | December 20, 2024
-
Free POS systems uncovered: Everything you need to consider
Feyi Oladipo | August 26, 2024
-

How to use a POS system
Humayun Farooq | August 20, 2024
-

What is a POS transaction?
Robert Luong | July 25, 2024
-

How to get a POS for your business?
Robert Luong | June 11, 2024
-
What is a POS system and how does it work?
Ryleigh Stangness | April 5, 2021
